Easy Hawaiian Roll Grilled Cheese: Melty Summer Sandwich Joy

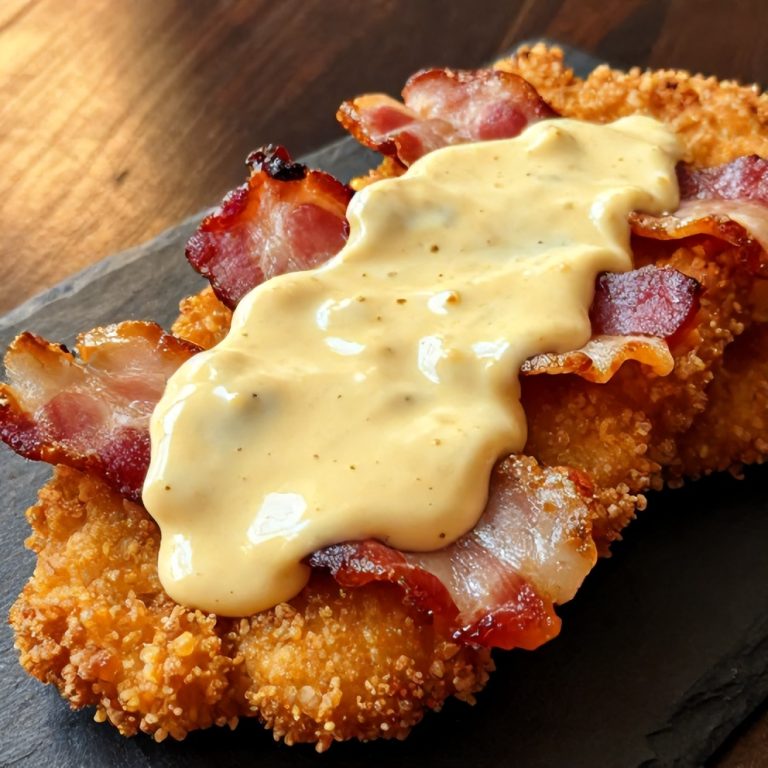
Easy Hawaiian roll grilled cheese delivers melty comfort and crispy texture in minutes. Regular bread dries out or burns too fast. After making this many times, the trick I discovered is using butter mixed with mayo for better browning. The result is a golden, toasted crust with creamy, gooey cheese in every bite. Craving more toasted sandwich recipes? Don’t miss my Easy Mediterranean Quesadillas with Feta and Spinach for a veggie twist. Jump to the recipe card or keep reading for my best tips. If you love recipes like this, you’ll also enjoy Easy Mediterranean Quesadillas with Feta and Spinach and Easy Baked Chicken Parmesan with Homemade Tomato Sauce.
Why This Easy Hawaiian Roll Grilled Cheese: Melty Summer Sandwich Joy Is Pure Comfort
- Melty cheese pulls with every bite.
- Buttered rolls stay crisp, never soggy.
- Perfect for summer cookouts or quick lunches.
- Tried-and-true method prevents burnt crusts.
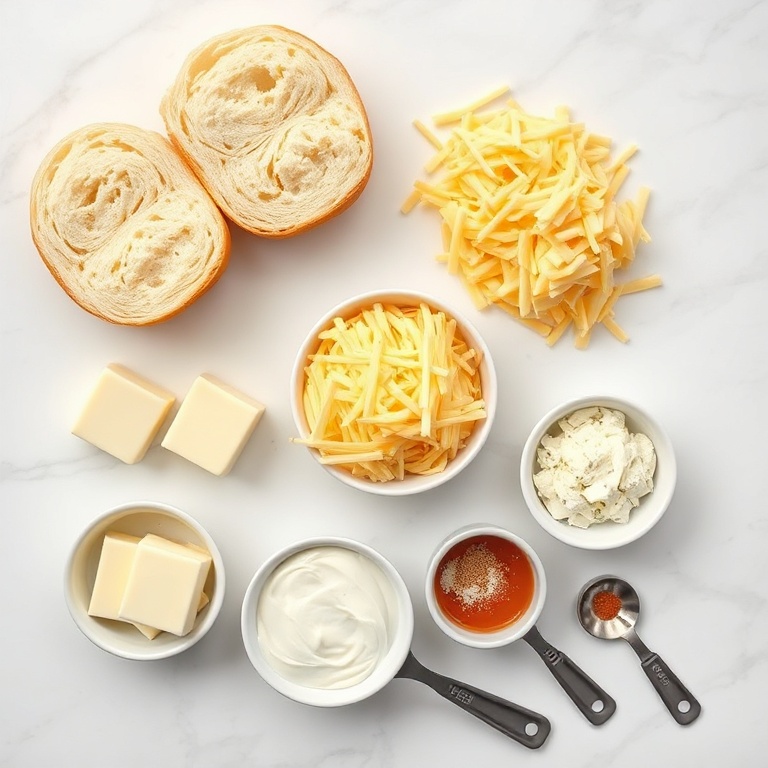
What You'll Need for Easy Hawaiian Roll Grilled Cheese: Melty Summer Sandwich Joy
Choosing the right ingredients makes a big difference, but this recipe is forgiving enough to work with what you have.
- 12-pack Hawaiian sweet rolls
- 6 ounces sharp cheddar cheese, shredded
- 6 ounces mozzarella cheese, shredded
- 4 tablespoons unsalted butter, softened
- 2 tablespoons mayonnaise
- 1/2 teaspoon garlic powder
- 1/4 teaspoon smoked paprika
- Kosher salt, to taste
- Black pepper, to taste
- Optional: Sliced fresh tomatoes
- Optional: Pickled jalapeños
- Optional: Sliced ham or turkey
- Optional: Fresh chopped parsley
📝 Ingredient Notes
- Hawaiian sweet rolls: The pillowy texture helps hold moisture and keeps sandwiches tender inside.
- Shredded cheddar: Use freshly shredded for the smoothest melt and best flavor.
- Shredded mozzarella: Combines with cheddar for extra stretch and gooeyness.
- Butter: Softened butter mixes evenly for golden, crisp crusts.
- Mayonnaise: Adds a tangy note and promotes even browning. Don't skip unless necessary.
🛒 Tools & Equipment I Recommend
- Nonstick electric griddle — Ensures all rolls toast evenly and prevents sticking—makes batch cooking pain-free. → See on Amazon
- Offset spatula — Lifts assembled sandwiches without squishing or tearing the rolls—pays for itself versus ruined sandwiches. → See on Amazon

How to Make Easy Hawaiian Roll Grilled Cheese: Melty Summer Sandwich Joy
- Prep rolls and cheese: Slice the whole slab of Hawaiian rolls horizontally without separating. Shred cheddar and mozzarella.
- Mix butter and mayo: Combine softened butter, mayonnaise, garlic powder, paprika, salt, and pepper in a small bowl until smooth.
- Spread mixture on rolls: Spread butter-mayo mixture evenly on both the inside and outside of the rolls' top and bottom halves.
- Layer cheeses: Evenly sprinkle both kinds of cheese over the bottom half. Add optional toppings if using.
- Close and portion: Replace the top rolls. Run a sharp knife between each roll to separate into 12 sandwiches.
- Toast sandwiches: Heat a nonstick griddle or large skillet over medium. Place sandwiches buttered side down; cook 3–4 minutes per side until golden and cheese is melted.
- Serve hot: Transfer to a plate, garnish with parsley, and enjoy hot for best texture.
Cook's Tips for Perfect Easy Hawaiian Roll Grilled Cheese: Melty Summer Sandwich Joy
- Cheese melt: Grate cheese fresh—pre-shredded often clumps and melts unevenly, making sandwiches patchy inside.
- Common mistake and fix: If sandwiches turn out soggy, the griddle likely wasn’t hot enough. Preheat thoroughly and avoid crowding to ensure fast, even browning.
- Portioning: Always slice rolls before toasting. It prevents uneven cooking and keeps fillings tidy in every bite.
- Summer serving: Bring these to summer BBQs—wrap in foil and keep warm on the grill for crowd-pleasing sides or light mains.
Storing & Reheating Easy Hawaiian Roll Grilled Cheese: Melty Summer Sandwich Joy
Short-Term Storage
Store in an airtight container in the fridge. Wrap leftover sandwiches tightly in foil or an airtight container. Store up to 2 days for best texture. Make-ahead tip: Assemble sandwiches up to 8 hours ahead, refrigerate, then toast just before serving.
Freezing Easy Hawaiian Roll Grilled Cheese: Melty Summer Sandwich Joy
Individually wrap and freeze for up to 1 month. Reheat from frozen for maximum meltiness.
How to Reheat Without Drying It Out
Oven: Warm sandwiches at 350°F wrapped in foil for 10 minutes, then uncover to crisp for 2 minutes. Microwave: Heat unwrapped in 15-second increments; place a damp paper towel underneath to avoid chewy rolls.
Recipe Notes
- Chef tip: Mixing butter and mayo guarantees crisp, even browning and a hint of tang.
- Best substitution: Use Monterey Jack or Gruyère for a twist. Avoid low-moisture processed cheeses—poor melt and bland results.
- Make-ahead: Sandwiches can be assembled and refrigerated—just toast right before serving for best texture.
- Scaling: Scale up by using multiple packs of rolls and doubling the cheese mixture. Work in batches for even toasting.
- Troubleshooting: If rolls burn or cheese is lumpy, your pan is too hot or cheese not shredded fine enough. Adjust heat and always use freshly shredded cheese.
Want to level up this recipe?
Fine microplane grater — Freshly grated cheese melts smoother than pre-shredded, so your sandwiches get that true melty pull. → Check price on Amazon
Easy Hawaiian Roll Grilled Cheese: Melty Summer Sandwich Joy
Ingredients
Main Ingredients
- 12-pack Hawaiian sweet rolls
- 6 ounces sharp cheddar cheese, shredded
- 6 ounces mozzarella cheese, shredded
- 4 tablespoons unsalted butter, softened
- 2 tablespoons mayonnaise
Seasonings
- 1/2 teaspoon garlic powder
- 1/4 teaspoon smoked paprika
- Kosher salt, to taste
- Black pepper, to taste
Optional Toppings
- Sliced fresh tomatoes
- Pickled jalapeños
- Sliced ham or turkey
- Fresh chopped parsley
Instructions
- Prep rolls and cheese: Slice the whole slab of Hawaiian rolls horizontally without separating. Shred cheddar and mozzarella.
- Mix butter and mayo: Combine softened butter, mayonnaise, garlic powder, paprika, salt, and pepper in a small bowl until smooth.
- Spread mixture on rolls: Spread butter-mayo mixture evenly on both the inside and outside of the rolls' top and bottom halves.
- Layer cheeses: Evenly sprinkle both kinds of cheese over the bottom half. Add optional toppings if using.
- Close and portion: Replace the top rolls. Run a sharp knife between each roll to separate into 12 sandwiches.
- Toast sandwiches: Heat a nonstick griddle or large skillet over medium. Place sandwiches buttered side down; cook 3–4 minutes per side until golden and cheese is melted.
- Serve hot: Transfer to a plate, garnish with parsley, and enjoy hot for best texture.
Notes
- Chef tip: Mixing butter and mayo guarantees crisp, even browning and a hint of tang.
- Best substitution: Use Monterey Jack or Gruyère for a twist. Avoid low-moisture processed cheeses—poor melt and bland results.
- Make-ahead: Sandwiches can be assembled and refrigerated—just toast right before serving for best texture.
- Scaling: Scale up by using multiple packs of rolls and doubling the cheese mixture. Work in batches for even toasting.
- Troubleshooting: If rolls burn or cheese is lumpy, your pan is too hot or cheese not shredded fine enough. Adjust heat and always use freshly shredded cheese.
Storage
- Fridge: Wrap leftover sandwiches tightly in foil or an airtight container. Store up to 2 days for best texture.
- Freezer: Individually wrap and freeze for up to 1 month. Reheat from frozen for maximum meltiness.
- Oven reheat: Warm sandwiches at 350°F wrapped in foil for 10 minutes, then uncover to crisp for 2 minutes.
- Microwave reheat: Heat unwrapped in 15-second increments; place a damp paper towel underneath to avoid chewy rolls.
- Make ahead: Assemble sandwiches up to 8 hours ahead, refrigerate, then toast just before serving.
Nutrition Per Serving
- Calories: 230
- Protein: 8g
- Fat: 13g
- Carbs: 19g
- Fiber: 1g
- Sugar: 5g
- Sodium: 310mg
- Cholesterol: 31mg
- Sat. Fat: 7g
Nutritional values are estimates only. Actual values may vary by brand and portion size.
Easy Hawaiian Roll Grilled Cheese: Melty Summer Sandwich Joy FAQs
Yes, you can assemble the sandwiches a few hours ahead, then cover and refrigerate. Do not toast until just before serving or the rolls may get soggy. Refrigeration helps the flavors develop and the cheese firm up, which actually leads to better melting once heated. For best results, toast directly from chilled. This is handy for summer gatherings or busy prep days.
Soggy grilled cheese almost always happens when the pan isn't hot enough at the start. Heat must be medium to medium-high, so the crust forms quickly before the rolls absorb too much butter. Crowding or flipping too late can also trap steam and cause sogginess. Always work in batches if needed, and transfer finished sandwiches to a wire rack to stay crisp.
Yes—wrap each sandwich tightly, then store in an airtight container or freezer bag. They'll keep up to one month. Reheat from frozen in a 350°F oven, wrapped in foil for 8–10 minutes. Unwrap and toast an extra 2 minutes to restore crispness. Texture holds up surprisingly well, especially if you used freshly shredded cheese.
Sharp cheddar and mozzarella give the best flavor and melt. You get rich, tangy notes and satisfying cheese pulls. Monterey Jack and Gruyère can be used for variety but avoid cheeses that won’t melt well, like feta or dry pre-shredded. Grating cheese at home prevents clumps and patchy melts. For summer, adding fresh dill or thin tomato slices creates a seasonal twist.
Use medium or medium-low heat for a controlled browning. Always preheat the pan or griddle well before adding the sandwiches. If the fat starts to smoke or the bread browns instantly, lower the heat. A golden, crisp crust is the goal—not dark or charred edges. Watch closely, especially with sweet rolls, which caramelize quickly.
A Warm Final Note
I can’t wait for you to try Easy Hawaiian Roll Grilled Cheese: Melty Summer Sandwich Joy and see how effortlessly it comes together. When you make it, pop back here and leave a rating or share how it turned out — I love hearing from you!