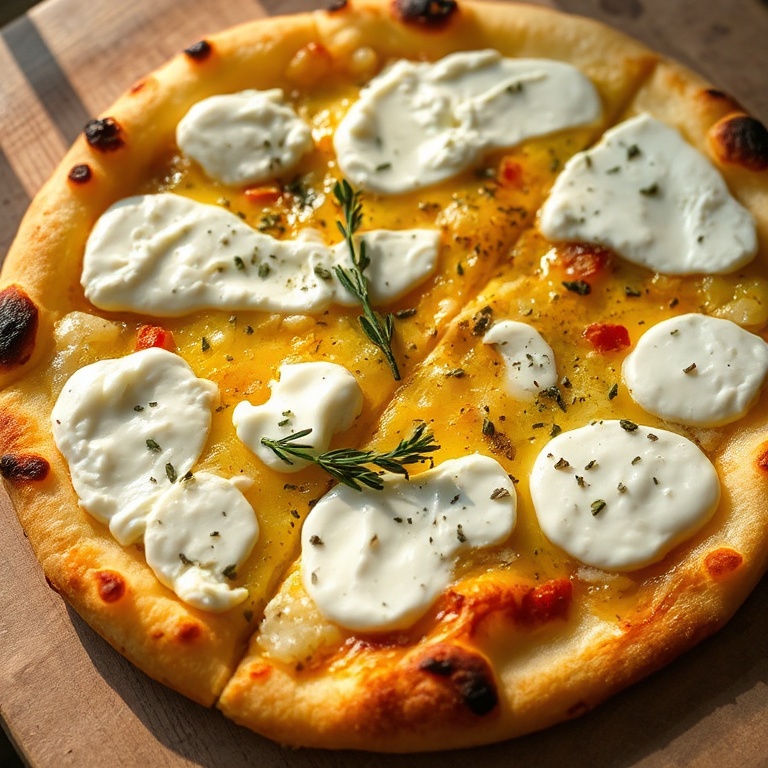
Crispy Cheesy Garlic Bread
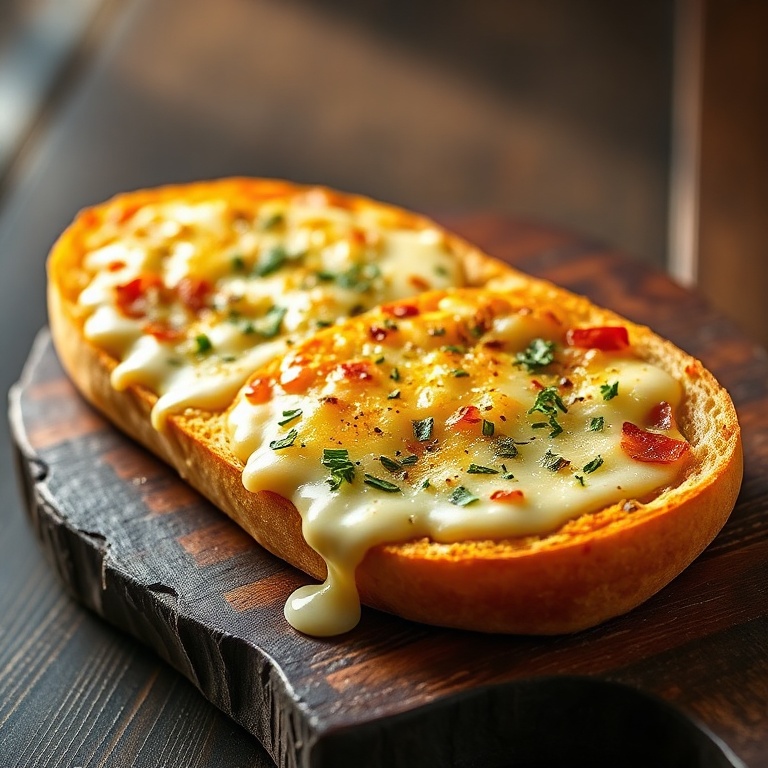
Crispy Cheesy Garlic Bread is the golden, melty, and irresistible side that makes any meal better. I’ve made this dozens of times. The trick I discovered is using a mix of cheeses for extra flavor and texture. Crispy edges and gooey centers make this bread unforgettable. Try it with my Fresh Salmon Tartare Recipe with Lemon and Jalapeño. Jump to Recipe If you love recipes like this, you’ll also enjoy Fresh Salmon Tartare Recipe with Lemon and Jalapeño and Easy Cream Cheese Raspberry Puff Pastry Cruffins Recipe.
Why This Crispy Cheesy Garlic Bread Is Pure Comfort
- Golden, crispy edges
- Melty cheese inside
- Garlic flavor that spreads
- Perfect for any meal
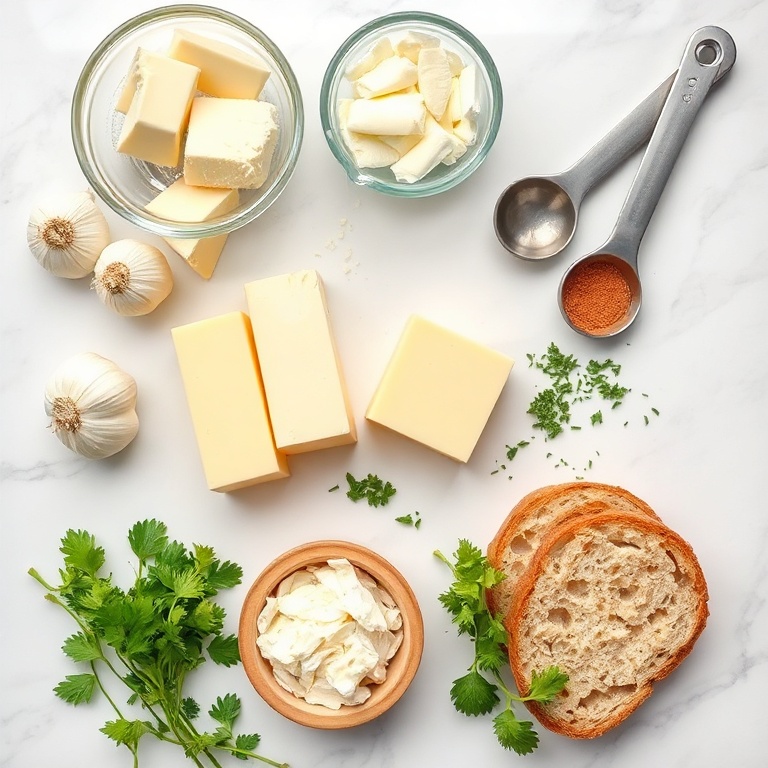
What You'll Need for Crispy Cheesy Garlic Bread
Choosing the right ingredients makes a big difference, but this recipe is forgiving enough to work with what you have.
- 1 loaf of crusty bread
- 1 cup unsalted butter, softened
- 4 cloves garlic, minced
- 1/2 cup grated Parmesan cheese
- 1/2 cup mozzarella cheese, shredded
- 1 teaspoon dried oregano
- 1 teaspoon dried thyme
- Salt and pepper to taste
- Optional: Fresh parsley, chopped
- Optional: Crushed red pepper flakes
- Optional: Cheddar cheese, grated
📝 Ingredient Notes
- Garlic: Use fresh garlic for best flavor
- Butter: Make sure it's softened to mix easily
- Cheese: Mix different cheeses for more flavor
- Bread: Use a sturdy loaf like sourdough or focaccia
🛒 Tools & Equipment I Recommend
- Bread Knife — Slices bread evenly without crushing it → See on Amazon
- Cheese Grater — Grates cheese quickly and evenly → See on Amazon

How to Make Crispy Cheesy Garlic Bread
- Prep the bread: Cut the loaf into 1-inch slices. Spread each slice with garlic butter.
- Add the cheese: Sprinkle a mix of Parmesan and mozzarella on top of each slice.
- Bake: Place the bread on a baking sheet. Bake at 375°F for 15–20 minutes until golden and bubbly.
- Finish with herbs: Sprinkle oregano, thyme, and a pinch of salt and pepper.
- Serve: Let cool slightly. Serve warm and enjoy the crispy, melty, garlicky goodness.
Cook's Tips for Perfect Crispy Cheesy Garlic Bread
- Baking: Use a mix of cheeses for more depth of flavor
- Common mistake and fix: Too much butter can make the bread soggy. Use just enough to coat the bread
- Serving: Serve warm for the best texture and flavor
- Storage: Store leftovers in an airtight container for up to 2 days
Storing & Reheating Crispy Cheesy Garlic Bread
Short-Term Storage
Store in an airtight container in the fridge. Store in an airtight container for up to 2 days Make-ahead tip: Make ahead and refrigerate until ready to bake
Freezing Crispy Cheesy Garlic Bread
Freeze in a sealed bag for up to 1 month
How to Reheat Without Drying It Out
Oven: Reheat at 350°F for 10–15 minutes Microwave: Reheat in 30-second intervals until warm
Recipe Notes
- Chef tip: Let the bread cool slightly before slicing for the best texture
- Best substitution: Use olive oil instead of butter for a vegan version
- Make-ahead: Prepare the garlic butter and cheese mix ahead of time
- Scaling: Double the recipe for larger gatherings
- Troubleshooting: If the bread is too dry, brush with a little more garlic butter before baking
Want to level up this recipe?
Baking Sheet — Ensures even heat distribution for perfect baking → Check price on Amazon
Crispy Cheesy Garlic Bread
Ingredients
Main Ingredients
- 1 loaf of crusty bread
- 1 cup unsalted butter, softened
- 4 cloves garlic, minced
- 1/2 cup grated Parmesan cheese
- 1/2 cup mozzarella cheese, shredded
Seasonings
- 1 teaspoon dried oregano
- 1 teaspoon dried thyme
- Salt and pepper to taste
Optional Toppings
- Fresh parsley, chopped
- Crushed red pepper flakes
- Cheddar cheese, grated
Instructions
- Prep the bread: Cut the loaf into 1-inch slices. Spread each slice with garlic butter.
- Add the cheese: Sprinkle a mix of Parmesan and mozzarella on top of each slice.
- Bake: Place the bread on a baking sheet. Bake at 375°F for 15–20 minutes until golden and bubbly.
- Finish with herbs: Sprinkle oregano, thyme, and a pinch of salt and pepper.
- Serve: Let cool slightly. Serve warm and enjoy the crispy, melty, garlicky goodness.
Notes
- Chef tip: Let the bread cool slightly before slicing for the best texture
- Best substitution: Use olive oil instead of butter for a vegan version
- Make-ahead: Prepare the garlic butter and cheese mix ahead of time
- Scaling: Double the recipe for larger gatherings
- Troubleshooting: If the bread is too dry, brush with a little more garlic butter before baking
Storage
- Fridge: Store in an airtight container for up to 2 days
- Freezer: Freeze in a sealed bag for up to 1 month
- Oven reheat: Reheat at 350°F for 10–15 minutes
- Microwave reheat: Reheat in 30-second intervals until warm
- Make ahead: Make ahead and refrigerate until ready to bake
Nutrition Per Serving
- Calories: 350
- Protein: 10g
- Fat: 15g
- Carbs: 35g
- Fiber: 2g
- Sugar: 2g
- Sodium: 800mg
- Cholesterol: 45mg
- Sat. Fat: 9g
Nutritional values are estimates only. Actual values may vary by brand and portion size.
Crispy Cheesy Garlic Bread FAQs
Yes, you can prepare the garlic butter and cheese mix ahead of time. Assemble and bake just before serving for the best texture.
Too much heat or not enough butter can make the bread dry. Keep an eye on it while baking and use enough garlic butter to coat the bread evenly.
Yes, you can. Preheat the air fryer to 350°F and cook for 10–12 minutes, until golden and bubbly.
Olive oil works well as a substitute for butter. Use it in the same quantity for a similar flavor.
Store in an airtight container in the fridge for up to 2 days. Freeze for up to 1 month and reheat before serving.
A Warm Final Note
I can’t wait for you to try Crispy Cheesy Garlic Bread and see how effortlessly it comes together. When you make it, pop back here and leave a rating or share how it turned out — I love hearing from you!